

A good pedicure does not need a salon appointment, a long afternoon, or a shelf full of specialist tools. A calm at-home pedicure routine works because it follows the same order a professional follows: soak first, then shape, then care for the skin, then colour last. Each step prepares the next one, so the finish looks smoother and lasts longer.
The ideas below build one complete routine. They suit a quiet evening at home, and most of them take only a few minutes each. The goal is not perfection on the first try. The goal is feet that feel soft, nails that look neat, and a routine that is easy enough to repeat every two or three weeks.
1. Start With a Warm, Relaxing Foot Soak
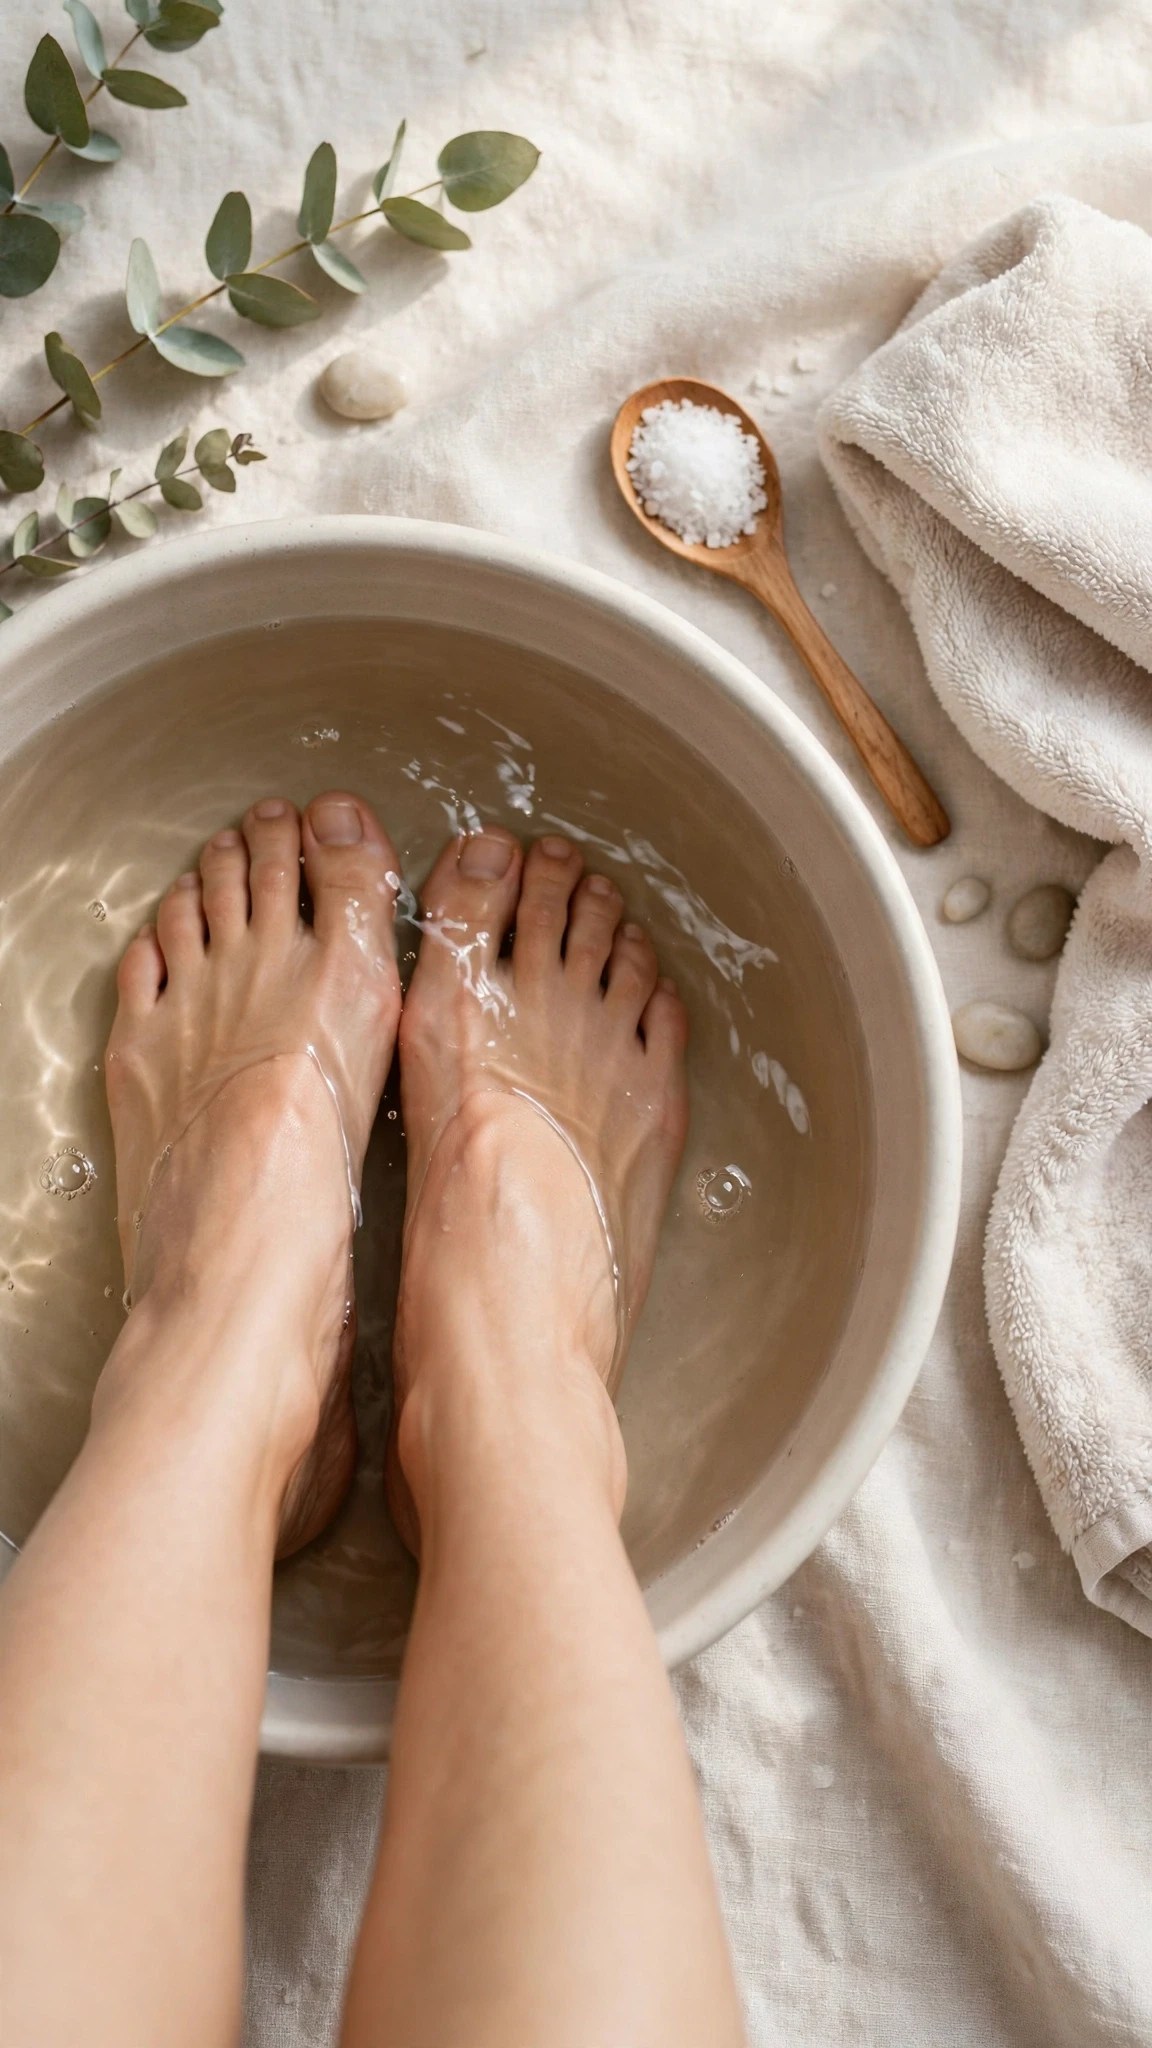
A warm soak softens the skin, loosens dry patches, and makes every step after it easier. Fill a basin with warm water — comfortable to the touch, never hot — and soak both feet for ten to fifteen minutes. A small amount of gentle soap or a spoonful of Epsom salt can be added, but plain warm water already does most of the work.
Why it works: softened skin files away more evenly, and softened nails trim with less pressure. A soak also turns the routine into a pause in the day, which makes it easier to keep doing.
How to do it right: keep the water warm, not hot, and dry the feet well afterwards, especially between the toes. Common mistake: soaking for too long. After twenty minutes the skin turns too soft and can tear during filing, so a short soak is better than a long one.
2. Trim Toenails Straight Across
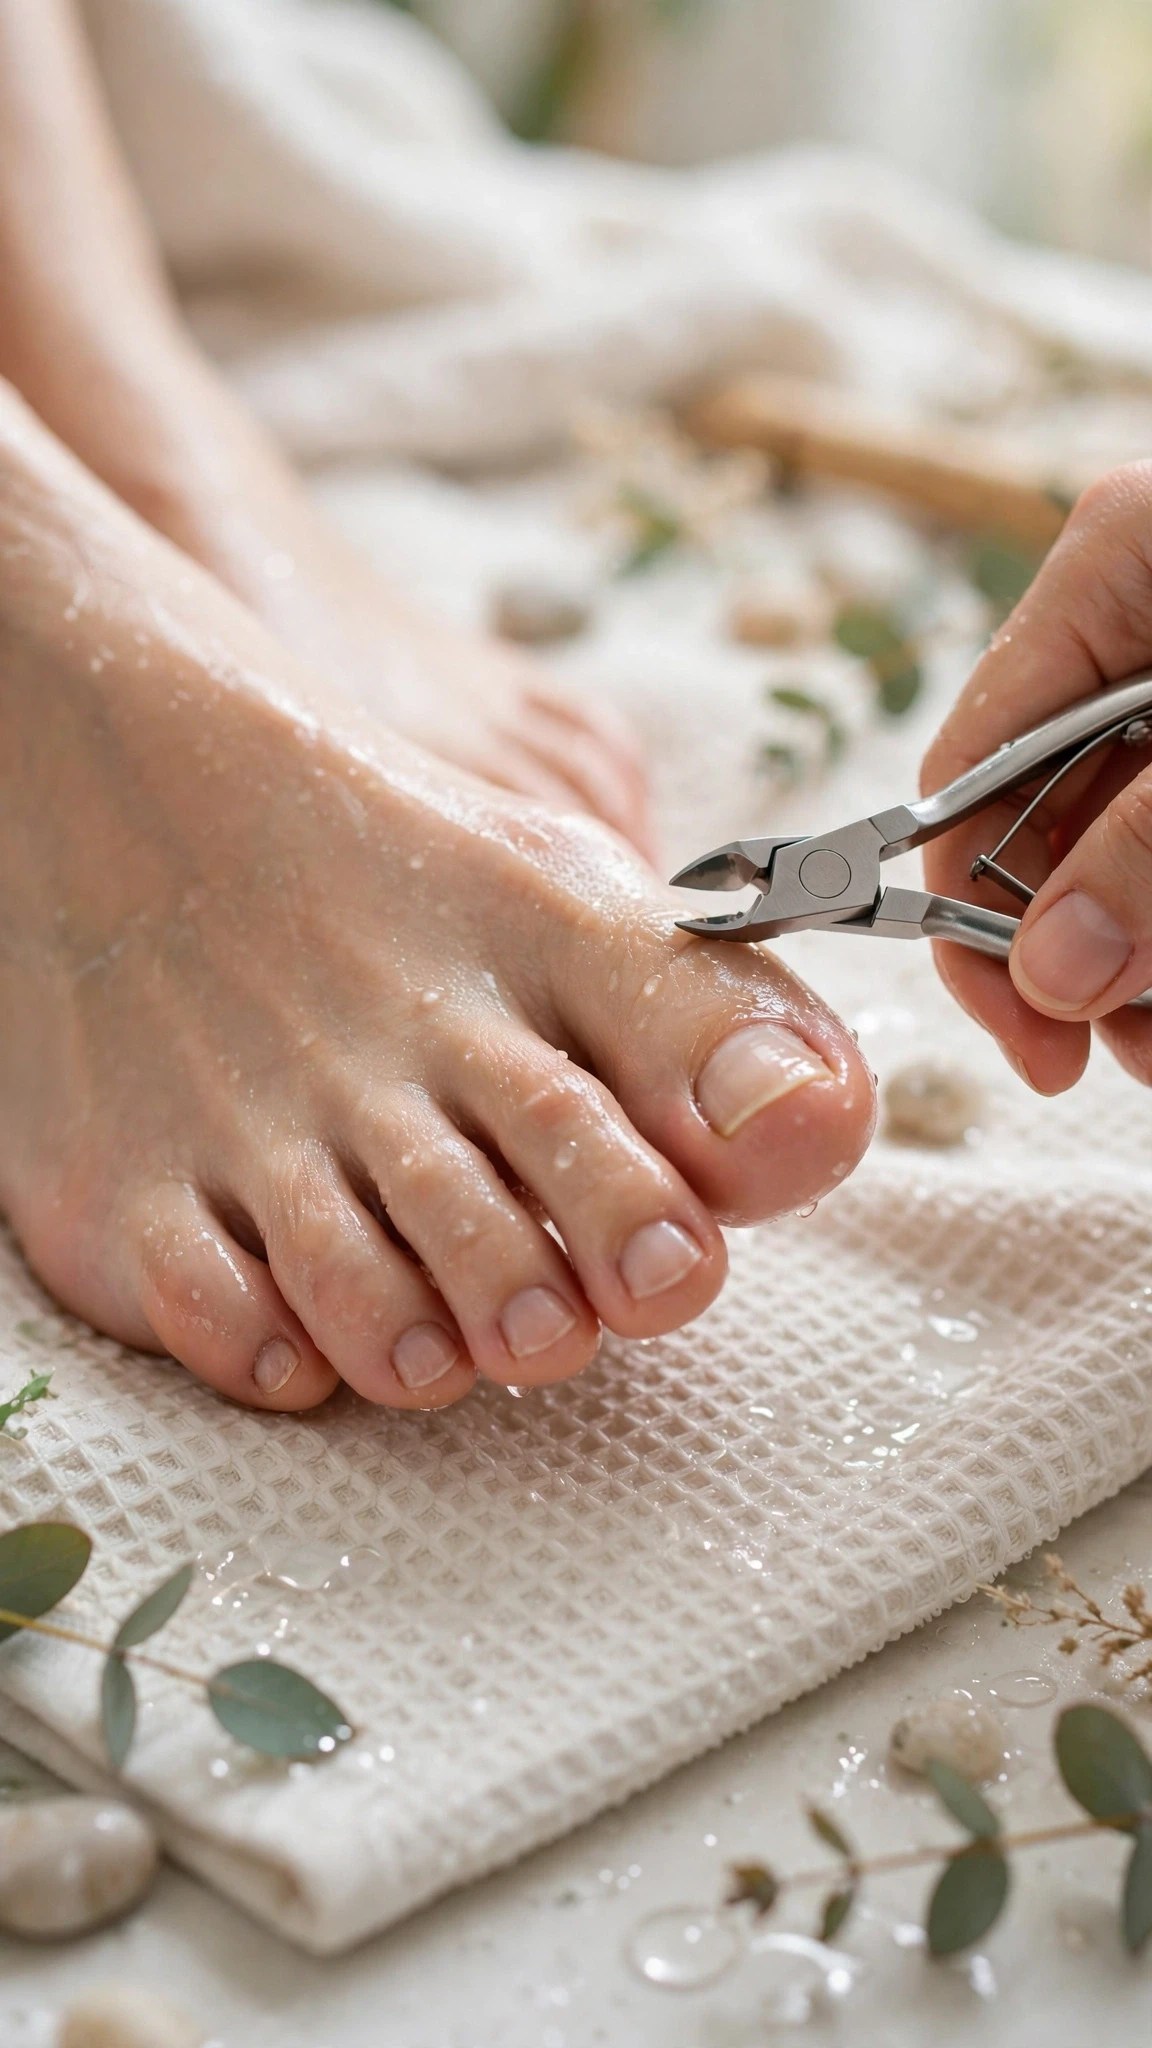
Trimming sounds simple, but the shape matters more than the length. Cut toenails straight across, then smooth only the sharp corners very lightly with a file. A straight edge helps the nail grow evenly and lowers the chance of the corners digging into the skin.
Why it works: a straight cut keeps the nail’s natural strength, while a rounded cut can encourage the edge to grow inward. Short is fine, but very short is not — a little white edge left at the tip protects the skin underneath.
How to do it right: use clean, sharp nail clippers made for toenails, and trim after the soak while the nails are slightly softer. Common mistake: cutting the corners down in a curve. Leave the corners in place and file them gently instead.
Product pick: Glass Nail File
3. Shape the Edges Gently With a File

After trimming, a file turns a rough edge into a smooth one. File in one direction, with light, even strokes, instead of sawing back and forth. One direction keeps the nail edge from splitting into thin layers.
Why it works: a smooth edge catches less on socks and sheets, and polish sits more evenly on a nail that has no rough spots. Glass files are a good choice here because the surface is fine and easy to clean.
How to do it right: hold the file flat against the edge and use short strokes. Check the shape by running a fingertip across the edge — a smooth edge feels clean, with no snag. Common mistake: filing the sides of the nail down to make it look narrower. That weakens the nail and changes how it grows.
4. Care for Cuticles Without Cutting Them

Cuticles protect the base of the nail, so the gentlest care works best. After the soak, push the softened cuticle back very lightly with a wooden stick or a soft towel. No cutting is needed for a neat look.
Why it works: the cuticle seals the gap between the nail and the skin. Keeping that seal intact helps keep the nail bed healthy, while cutting it can leave the area open to irritation.
How to do it right: work only on softened cuticles, use light pressure, and stop if the skin feels tender. A drop of cuticle oil afterwards keeps the area soft. The dermatologists’ manicure and pedicure safety tips explain why gentle cuticle care matters and what to avoid at home. Common mistake: trimming cuticles with sharp tools at home. Pushing back gently gives the same tidy result with far less risk.
5. Exfoliate Dry Skin With a Gentle Scrub

Once the nails are shaped, turn to the skin. A gentle foot scrub removes the dry, flaky layer that builds up on the heels and the balls of the feet. Apply it in small circles, rinse, and pat dry.
Why it works: exfoliation lets moisturiser reach fresh skin instead of sitting on a dry layer. It also keeps the feet looking even in tone, which matters most in open shoes.
How to do it right: use light pressure and focus on the rough areas, not the soft skin on top of the foot. Two or three minutes is enough. Common mistake: scrubbing hard every time. Over-scrubbing leaves the skin sore and can make it feel rougher as it recovers, so gentle and regular beats harsh and rare.
6. Smooth Heels With a Foot File or Pumice Stone
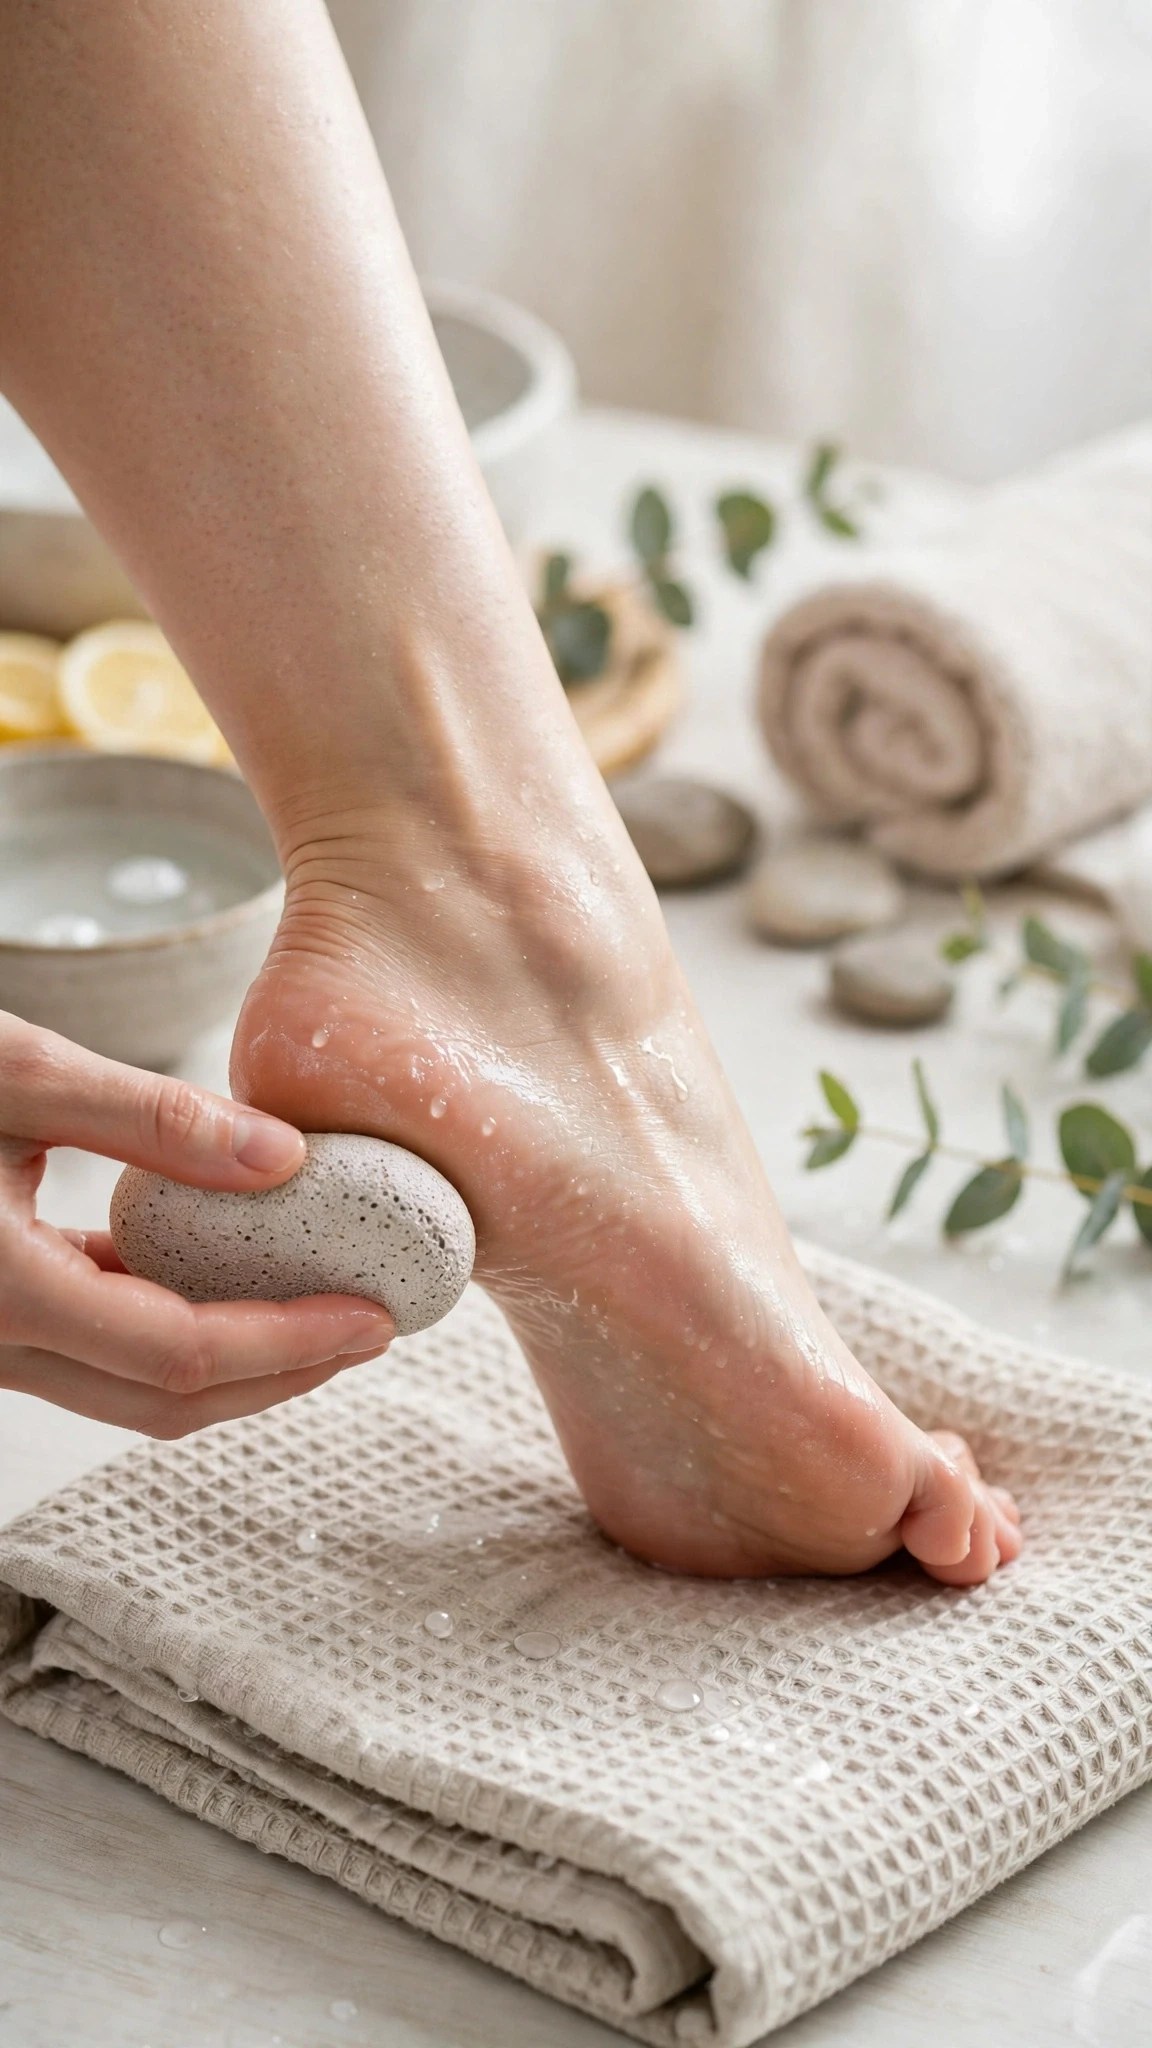
A foot file or pumice stone handles the thicker dry skin that a scrub cannot. Work on damp, softened skin after the soak, using light, even strokes across the heel.
Why it works: heels carry the body’s weight all day, so the skin there thickens naturally. Regular, gentle filing keeps that layer thin and smooth instead of letting it build into cracks.
How to do it right: file a little at a time and check the result often. Stop while the skin still feels comfortable — the aim is smooth, not bare. Common mistake: filing dry, hard heels aggressively in one session. That can leave the skin raw, so spread the work across a few routines instead.
7. Moisturise Well, Then Let It Sink In

Moisturiser is the step that makes the whole routine feel finished. Apply a rich foot cream over the whole foot, including the heels, and massage it in for a minute or two. For very dry feet, a thicker layer at night under clean cotton socks works well.
Why it works: feet have fewer oil glands than the rest of the body, so they dry out faster. Cream replaces that lost moisture and keeps the freshly smoothed skin soft for days, not hours.
How to do it right: apply cream to dry skin after exfoliating, and give it time to absorb before putting on shoes. Common mistake: skipping moisturiser because the feet already feel soft after a soak. That softness fades fast without cream to hold the moisture in.
Product pick: Hydrating Foot Cream
8. Prepare Nails Before Any Polish

Good polish starts before the colour comes out. Wipe each nail with a little nail polish remover or a gentle cleanser to remove any cream or oil. Then apply a thin base coat and let it dry fully.
Why it works: polish sticks poorly to an oily surface, so it chips early. A clean nail plus a base coat gives the colour something to hold on to, and the base coat also helps prevent darker colours from staining the nail.
How to do it right: use one thin layer of base coat, not a thick one, and wait until it feels dry to a light touch. Common mistake: painting over cream that is still on the nail. Even a thin film of moisturiser is enough to lift the polish within a day.
9. Apply Colour in Thin, Even Layers
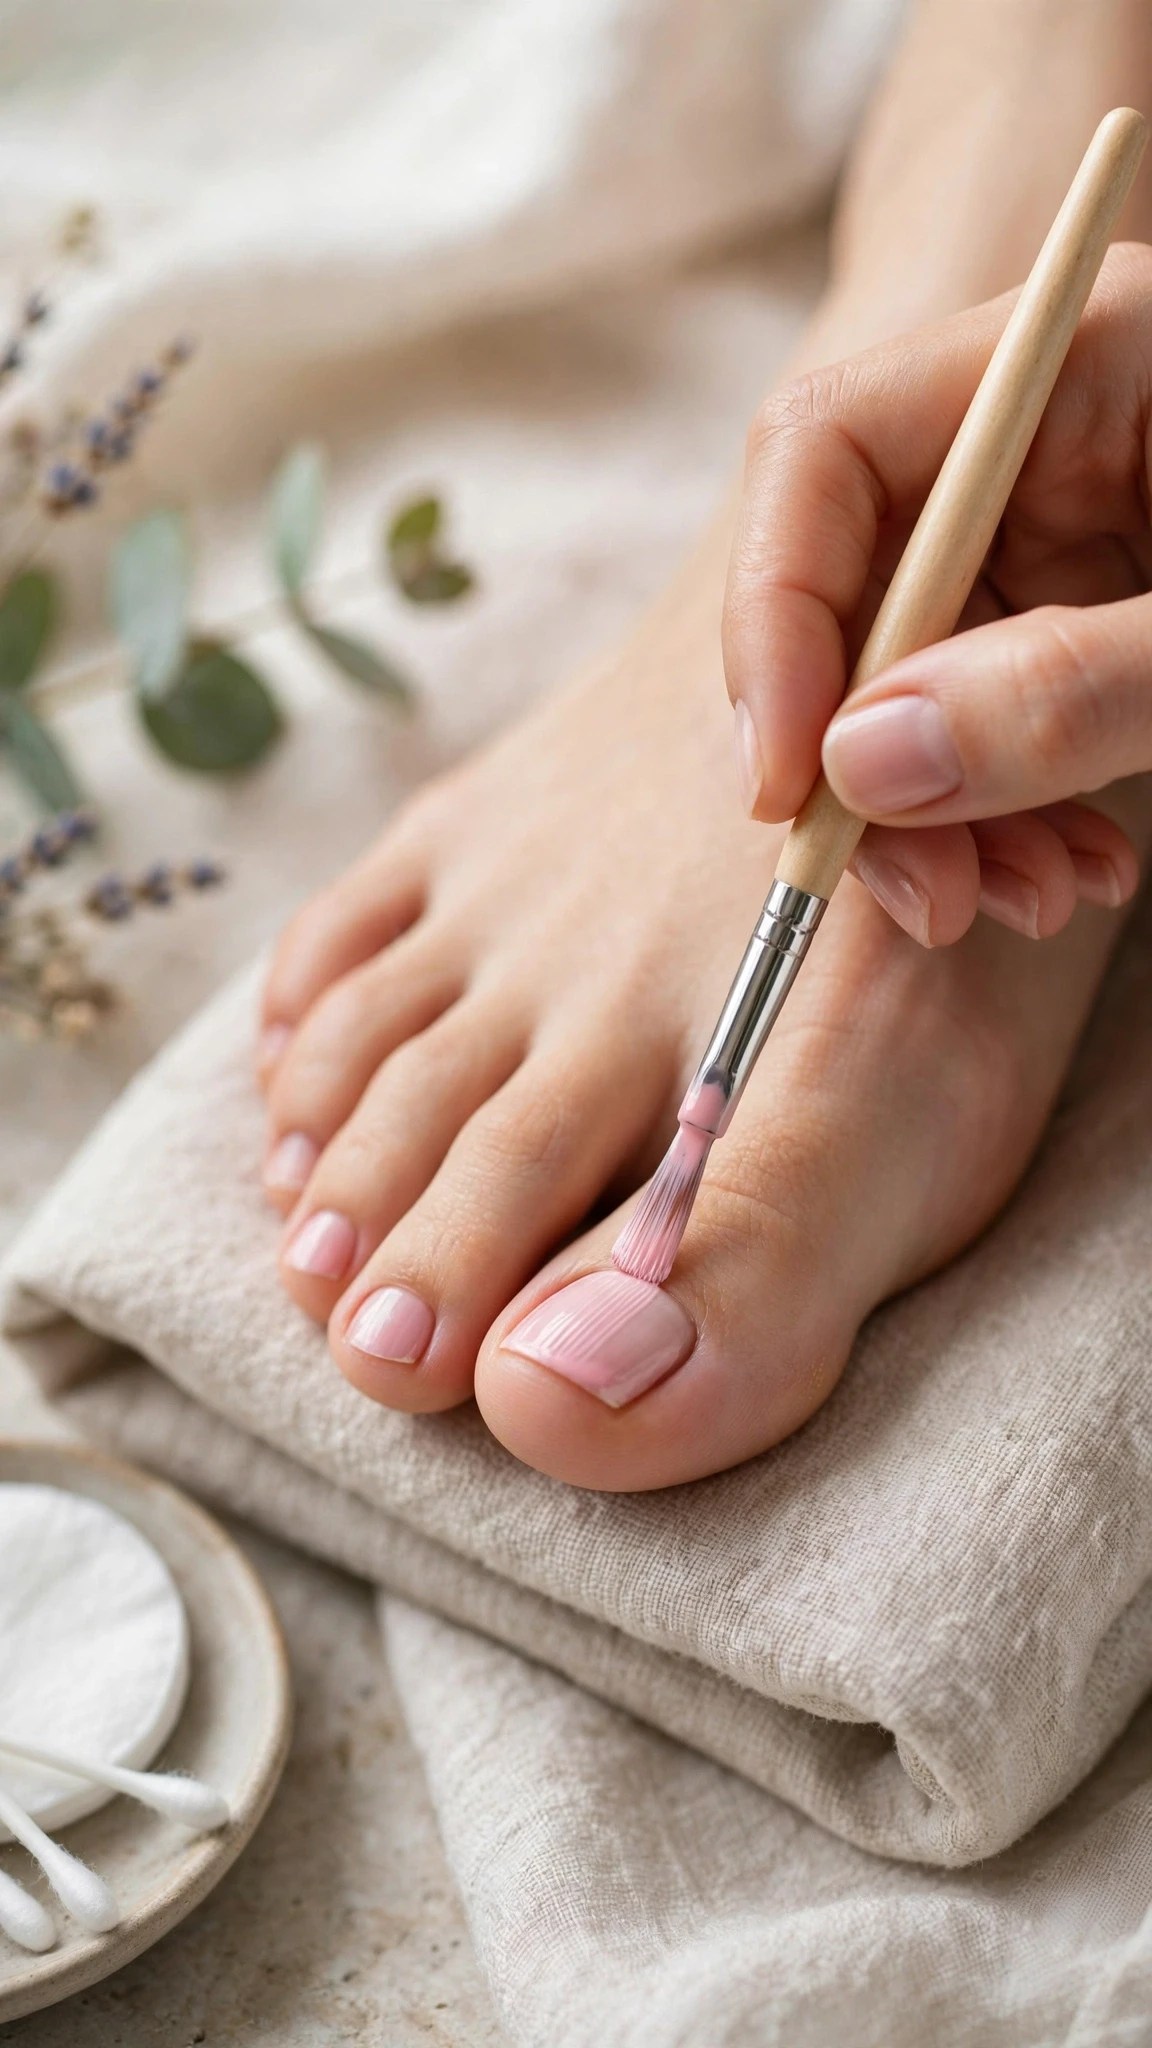
Two thin coats of colour almost always look better than one thick coat. Paint the centre of the nail first, then each side, leaving a tiny gap at the cuticle edge. Let the first coat dry before adding the second.
Why it works: thin layers dry evenly and harden properly, while thick layers stay soft underneath and dent easily. A small gap at the cuticle keeps the polish from peeling away from the edge.
How to do it right: wipe most of the polish off the brush before each stroke, and keep the coats light. If a little polish lands on the skin, clean it up with a small brush or cotton bud while it is still wet. Common mistake: rushing the second coat. A first coat that is still tacky will drag and streak under the next layer.
10. Finish With a Top Coat and a Proper Dry

A top coat seals the colour, adds shine, and slows down chipping. Apply one thin layer over the whole nail, including a light sweep across the very tip, then leave the nails completely alone while they dry.
Why it works: the tip of the nail takes the most wear, so sealing that edge protects the polish where it usually chips first. A top coat also gives a salon-like shine even over a simple colour.
How to do it right: wait at least ten minutes before putting on socks or closed shoes, and longer for darker colours. Common mistake: testing the polish by touching it after two minutes. If it dents, the dent stays — patience at this step protects all the work before it.
Keeping the Routine Going
An at-home pedicure routine works best as a habit, not a one-time fix. Repeating the full routine every two to three weeks keeps the skin smooth and the nails tidy, and a quick version — trim, file, moisturise — fits easily between full sessions.
Clean the tools after each use, store them dry, and replace a worn file or a blunt clipper instead of working around it. For more pedicure inspiration, see the guide to simple pedicure ideas for beautiful, well-groomed feet. Small, regular care is what makes feet look cared for all the time, not just on pedicure day.
FAQs
How often should an at-home pedicure routine be done?
Every two to three weeks suits most people. Feet that get very dry or spend long hours in closed shoes may need a shorter gap, while a quick trim and moisturise can fill the time between full routines.
Can a pedicure be done without polish?
Yes. The soak, trim, file, and moisturise steps give neat, healthy-looking feet on their own. A clear base coat or top coat alone also adds a tidy shine without any colour.
What should be avoided during an at-home pedicure?
Avoid cutting cuticles, filing dry heels aggressively, and soaking in very hot water. Each of those can cause soreness or damage that takes days to settle, so gentle steps are the safer choice.
How can polish be made to last longer?
Start with a clean nail, use a base coat, apply two thin colour coats, seal with a top coat, and let each layer dry fully. Wearing gloves for washing up also helps, since water and cleaning products wear polish down fast.
Disclosure: This article contains affiliate links. As an Amazon Associate, The Beauty Glow Edit may earn from qualifying purchases, at no extra cost to the reader.
Leave a Reply